
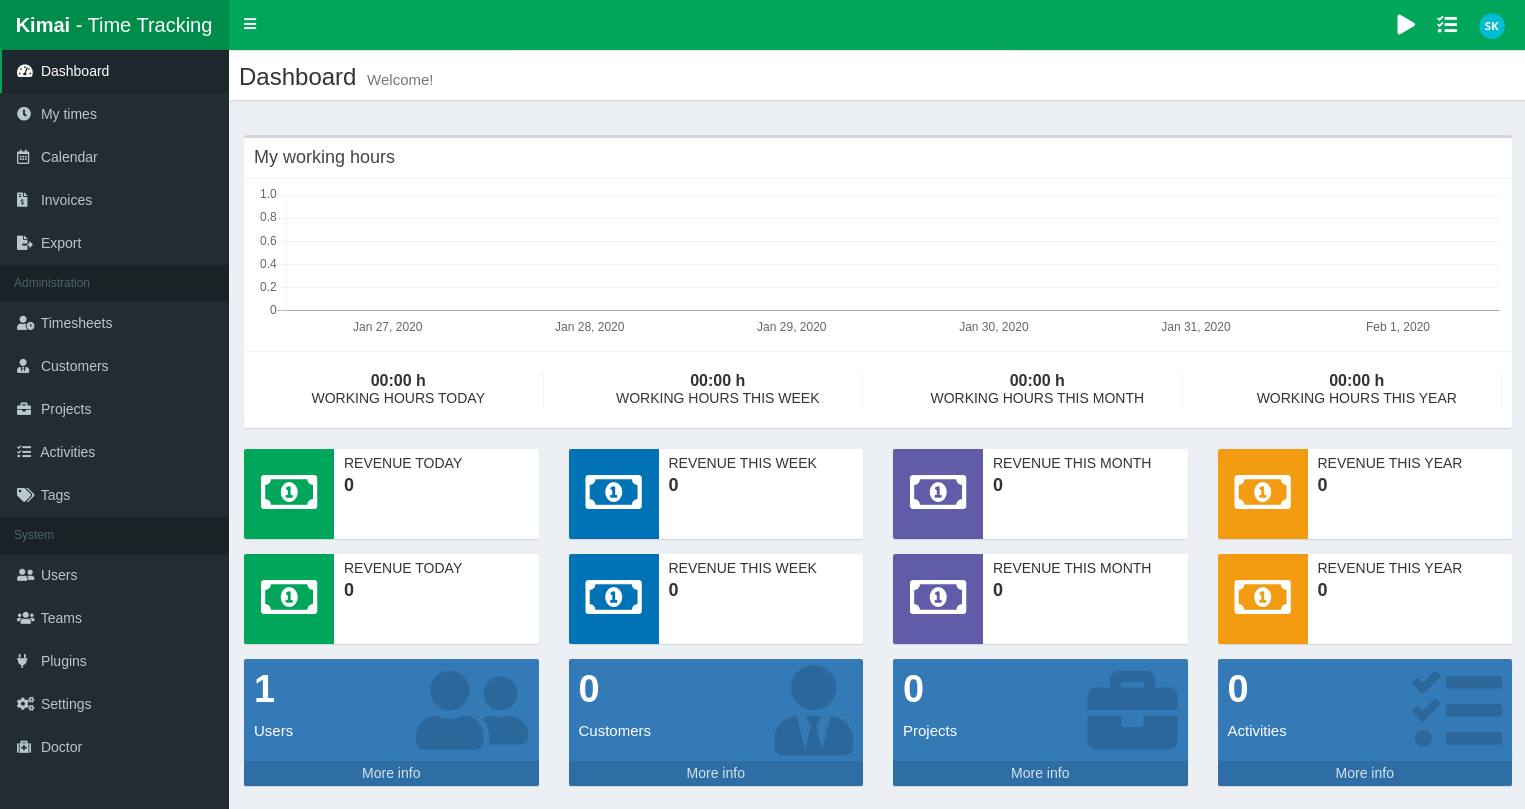
Time tracking is essential for freelancers, small businesses, and other critical use cases. I have a full time job and do a bunch of consulting and programming on the side that I need to track. I also need a system that lets me generate nice invoices and track what has been paid and hasn't been so I can spend more time doing actual work rather than tracking stuff. Since I love open-source (who doesn't like amazing free stuff?) I ended up going with Kimai2 and so far I really enjoy it.
In this post I am going to cover how to install Kimai2 under Unraid so you can do the exact same. Even though this post is written for Unraid it could be easily applied to any system that will be running Kimai2 under the linuxserver's Letsencrypt docker container.
So lets get started!
Requirements
- Unraid server
- Community Applications installed within Unraid
- Domain for hosting the install (you can easily use an IP address only but this post is centered around using a domain).
Installing Letsencrypt
If you already have the Letsencrypt container from linuxserver installed you can skip this part. This container ships with PHP, NGINX, and Letsencrypt (for free SSL) so it has everything we need to get Kimai2 running.
Go to Community Applications and letsencrypt (make sure to get the one from linuxserver if multiple show up). You will need to configure the various options (I wont go into details about this because it should be self explanatory but if you do need help feel free to drop a comment).
MySQL/MariaDB
Installing
If you already have MariaDB or MySQL server installed and ready to go you can skip this. Otherwise install the mariadb container from linuxserver in Community Applications. Generate a random MYSQL_ROOT_PASSWORD when creating the server and keep note of it as we will use it next to connect to the instance and create a new database and user.
Generating Kimai2 Database & User
Run this command on the Unraid server to shell into our mariadb container
# docker exec -it mariadb /bin/bashNow we can use the MySQL command to get access to the MySQL server console:
mysql -u root -pYou will be prompted to enter your MySQL root password. Copy paste the one you generated earlier and entered into MYSQL_ROOT_PASSWORD
Now we can run the command to create the database. Run this to do just that:
CREATE DATABASE `kimai2`;Now we need to run the command to create the new database user. I recommend using a long password without special characters as they can cause issues when entering the password into the .env file later:
CREATE USER `kimai2`@`%` IDENTIFIED BY 'replacewithrandompassword'Now run this command to grant access to our database for the new kimai2 user:
GRANT ALL PRIVILEGES ON `kimai2`.* TO `kimai2`@`%`;And now our MySQL server is ready for Kimai2. Lets go ahead and close the MySQL console by running this command:
exit;And now we can close the docker container shell by typing this:
exitNow we should be back to the Unraid shell where we can now continue and install Kimai2 :)
Installing Kimai2
Now we are ready to install Kimai2 inside of our new Letsencrypt container.
You will now need to access the console of the Letsencrypt container so we can run PHP terminal commands. This can be done via the Unraid UI or by issuing this command from the terminal of the server:
# docker exec -it letsencrypt /bin/bashWe can now checkout the Kimai2 project files into our container's volume (aka the mounted appdata folder). Check the releases page for the current release number and then use that in the following command (right now this is 1.7 so just replace that with whatever the current release is if it differs).
# cd /config/www
# git clone -b 1.7 --depth 1 https://github.com/kevinpapst/kimai2.git kimai2.example.com
# cd kimai2.example.comWe now need Composer for handling vendor files (similar to how there is NPM for NodeJS). We can install Composer into the local project directory using the instructions from this page. Just run the 4 or so lines of code on that page and it will install a composer.phar file into the current directory.
Now we need to run composer install to fetch all of our vendor files. Run this command:
# composer.phar install --no-dev --optimize-autoloaderOnce that finishes we need to modify the .env file to point to our database. Run nano .env and edit the line that starts with DATABASE_URL to this (changing the user, password, host, and port to match your setup):
DATABASE_URL=mysql://kimai2:[email protected]:3306/kimai2Press ctrl+o and then enter to save and ctrl+x to exit nano.
Now we can run the command to install it (runs database updates, warms up cache, etc):
# bin/console kimai:install -nIf that command for some reason errors you can use -v argument to get more verbose output that can help you figure out what went wrong.
If everything was successful we can now generate a user and password:
# bin/console kimai:create-user username [email protected] ROLE_SUPER_ADMINConfiguring Letsencrypt to serve up Kimai2
Now we need to create a new NGINX config file under our Letsencrypt container to serve our Kimai2 installation. Run nano /config/nginx/site-confs/kimai2.example.com and copy paste this modifying the various bits to match your setup:
# force http to https
server {
  listen 80;
  server_name kimai2.example.com;
  return 301 https://$host$request_uri;
}

server {
  listen       443 ssl;
  server_name kimai2.example.com;
  root        /config/www/kimai2.example.com/public;
  index       index index.php;

  ssl_certificate /config/keys/letsencrypt/fullchain.pem;
  ssl_certificate_key /config/keys/letsencrypt/privkey.pem;
  ssl_dhparam /config/nginx/dhparams.pem;
  ssl_ciphers 'ECDHE-RSA-AES128-GCM-SHA256:ECDHE-ECDSA-AES128-GCM-SHA256:ECDHE-RSA-AES256-GCM-SHA384:ECDHE-ECDSA-AES256-GCM-SHA384:DHE-RSA-AES128-GCM-SHA256:DHE-DSS-AES128-GCM-SHA256:kEDH+AESGCM:ECDHE-RSA-AES128-SHA256:ECDHE-ECDSA-AES128-SHA256:ECDHE-RSA-AES128-SHA:ECDHE-ECDSA-AES128-SHA:ECDHE-RSA-AES256-SHA384:ECDHE-ECDSA-AES256-SHA384:ECDHE-RSA-AES256-SHA:ECDHE-ECDSA-AES256-SHA:DHE-RSA-AES128-SHA256:DHE-RSA-AES128-SHA:DHE-DSS-AES128-SHA256:DHE-RSA-AES256-SHA256:DHE-DSS-AES256-SHA:DHE-RSA-AES256-SHA:AES128-GCM-SHA256:AES256-GCM-SHA384:AES128-SHA256:AES256-SHA256:AES128-SHA:AES256-SHA:AES:CAMELLIA:DES-CBC3-SHA:!aNULL:!eNULL:!EXPORT:!DES:!RC4:!MD5:!PSK:!aECDH:!EDH-DSS-DES-CBC3-SHA:!EDH-RSA-DES-CBC3-SHA:!KRB5-DES-CBC3-SHA';
  ssl_prefer_server_ciphers on;

  access_log off;
  log_not_found off;

  location ~ /\.ht {
    deny all;
  }

  location / {
      try_files $uri /index.php$is_args$args;
  }

  location ~ ^/index\.php(/|$) {
    fastcgi_pass 127.0.0.1:9000;
    fastcgi_split_path_info ^(.+\.php)(/.*)$;
    include /etc/nginx/fastcgi_params;
    fastcgi_param PHP_ADMIN_VALUE "open_basedir=$document_root/..:/tmp/";
    internal;
  }

  location ~ \.php$ {
    return 404;
  }
}
Reloading NGINX
You can restart NGINX to apply your new changes but I recommend instead issuing the command to reload NGINX config files (It's near instant whereas a restart can take a bit longer and puts all your sites offline):
s6-svc -h /var/run/s6/services/nginxThis has to be executed from within the container for it to work. If you have the User Scripts plugin installed within Unraid you can add this as a new script and run it when you want to reload your settings:
#!/bin/bash
/usr/bin/docker exec -t letsencrypt s6-svc -h /var/run/s6/services/nginx
Modify default NGINX config
This is important: By default the Letsencrypt container will serve all PHP files from the www folder. Since we installed Kimai2 under a subfolder inside of that we want to make sure people cannot execute PHP files all willy-nilly from our Kimai2 instance. We also don't want people being able to read our hidden files. There are two solutions:
- Delete the default NGINX config file at
/mnt/user/appdata/letsencrypt/nginx/site-confs/default - Create another folder in
wwwcalleddefaultand modify/mnt/user/appdata/letsencrypt/nginx/site-confs/defaultto use/config/www/defaultinstead of/config/wwwfor theroot
You could also get around this by installing Kimai2 next to www instead of inside of it. I just prefer having my domains inside of the www folder for sanity reasons.
Conclusion
Whether you are tracking time for independent work and creating invoices for clients or just using it to track time spent on projects this is a really handy free tool. Since I recently started my business I wanted something free yet still powerful and I believe I have found that in Kimai2.
Kimai2 is built using Symfony components which is awesome because I've been working in the Symfony PHP framework for several years and have become very fond of it (it's definitely the framework I have spent the most time using and have built some very complex projects in it).
Since we installed this inside of the Letsencrypt container we can actually use this container as a proxy for all of our other fun projects as well so it has a multi-purpose (my container is hosting this very blog as well as handful of other sites).
Feedback/Get Help
Need help? Found something wrong in my post? Just want to say thanks? Feel free to drop a comment below. I enjoy hearing back from my readers :)